
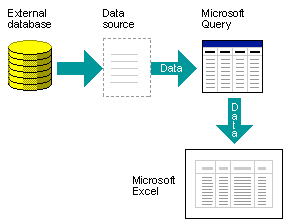
In a previous article we discussed how importing SQL Server data into Excel and using it can be a very useful and powerful thing.
We also showed how to connect directly to an SQL Server database and import the entire contents of a specific table within that database.
While this is an important capability of Excel, it does have a few practical drawbacks:
- You can only import the entire contents of a table (that could contain many, many records)
- You can’t summarize the data from your table
- You can’t import data that is found in multiple tables
This might seem like a bit of a problem, but worry not!
In today’s article we will introduce you to a tool called ‘Microsoft query’ that allows you to do all of the above, and more.
What is Microsoft Query?
Getting ready to use Microsoft Query
As we showed in the previous article, before attempting to import data you need to contact your DBA/System administrator and find out the following:
- The name of the Database Server (The machine that runs the database software)
- The name of the database your data is stored in
- Whether your windows credentials are enough to access that server or a username/password for your database
Microsoft Query in Action
Let’s imagine we are running a scientific research project and are gathering information from our medical research database. Rather than download the entire massive data set into Excel, we want to extract just the names that match a specific criteria.
We could import the entire patient table into our spreadsheet and then use Excel filters to filter down the results. But the faster and more efficient way to do this would be to create a ‘Query’ that imports only the subset of records that we want into our Excel sheet.
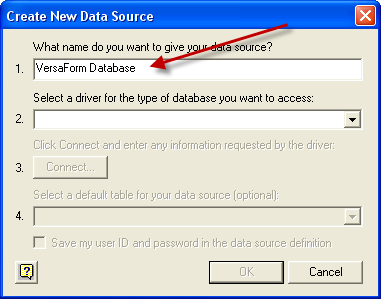
First we need to turn our SQL server database into a ‘data source’ for the ‘Microsoft Query’ tool.
Connecting ‘Microsoft Query’ to an SQL Server database
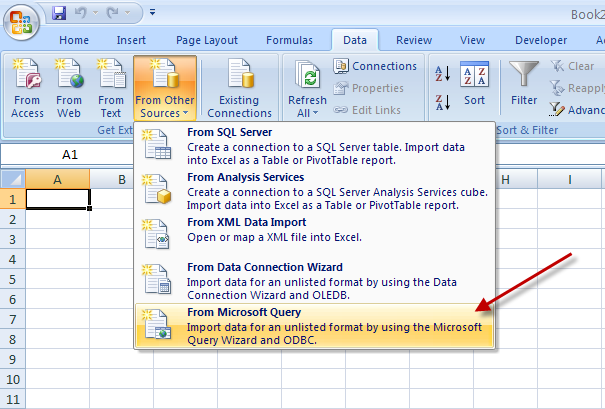
In the ‘data ribbon’ select the ‘From other sources’ button and click the ‘From Microsoft Query’ option:

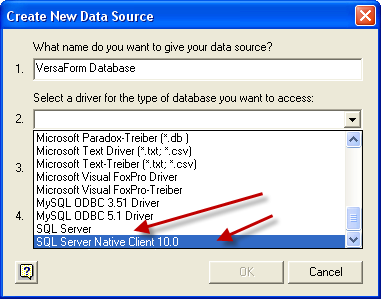
You will also be required to select the driver that’s suitable for your database. In our case it’s either the SQL Server driver or the ‘SQL server native client 10.0′ driver. If you are not sure you can try them both and see which works.

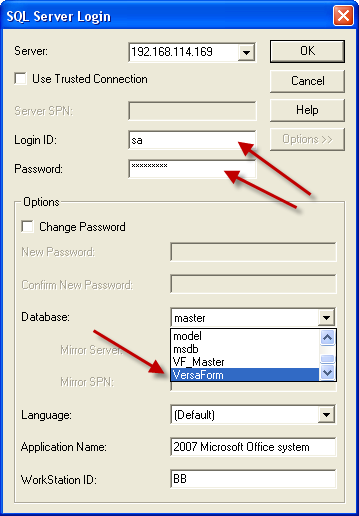
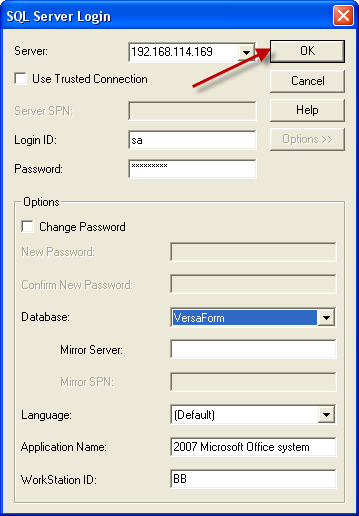
Most importantly, remember to select the correct database from the database list below. If you forget to do that you’ll be presented with all sorts of confusing data later on and you won’t know why.
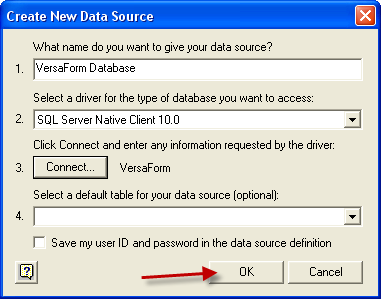
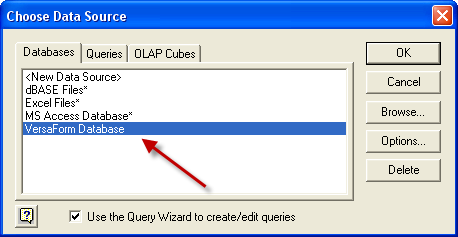
Start by clicking the data source that you named earlier. We called ours “VersaForm”.
Extracting Data from SQL Server with MS Query
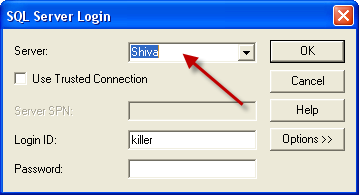
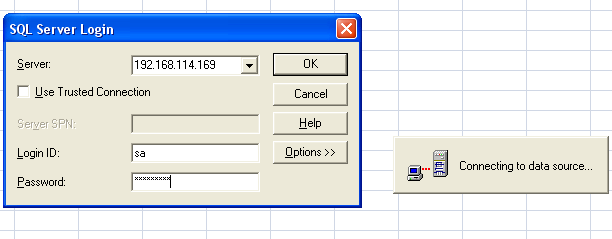
Once you have clicked on the data source you will be asked for a password again, plus a small ‘connection to data source window’ will appear. When you enter the LoginID/Password you’ll be connected to the Microsoft Query tool (this stage is skipped if you are a trusted connection).
If all else fails and you can’t find the table that contains the information you need, just ask your DBA – they should know.
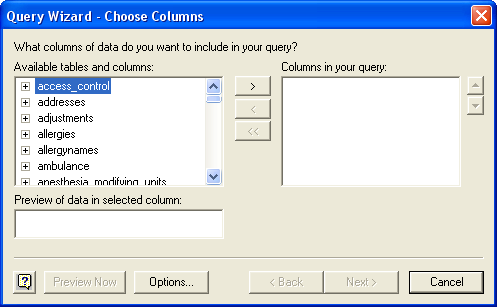
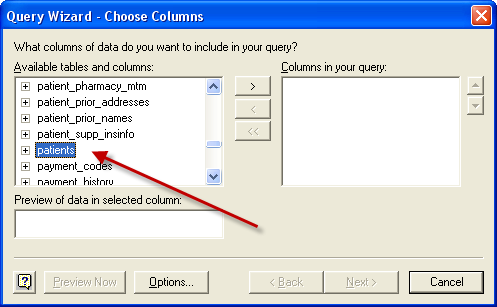
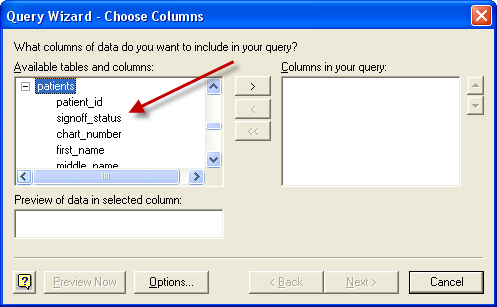
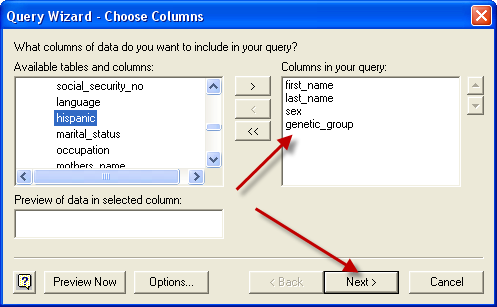
Selecting Your SQL Data

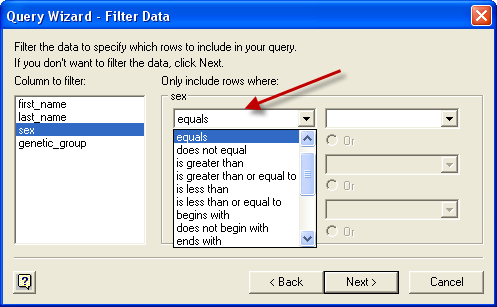
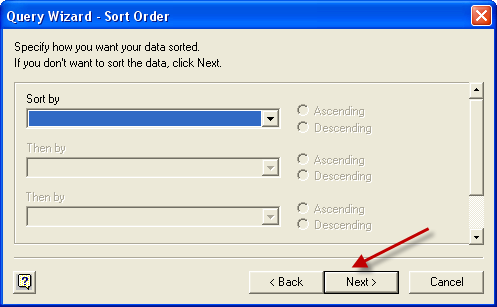
Setting filters for your Query
Now you can add filters to the query to retrieve only specific records from the table.
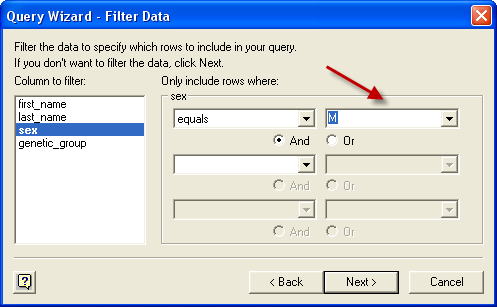
When you are done, click next…
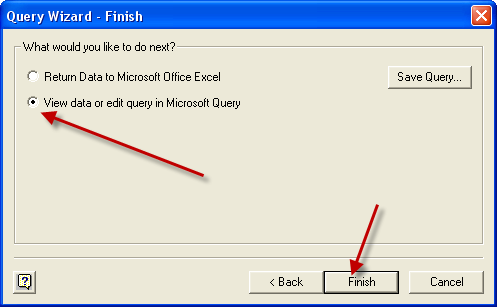
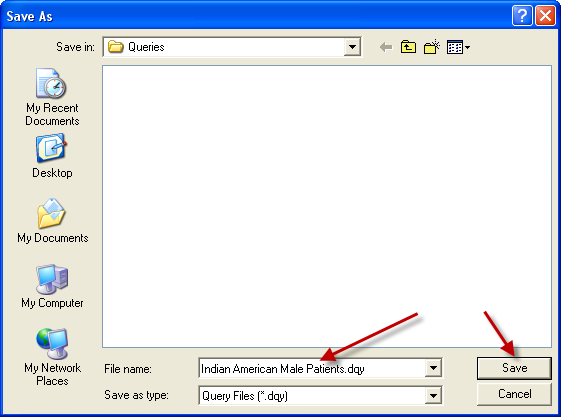
Saving Your Query
While it is possible to save the query and return the data to Excel directly from this form, I like to see the query and the resulting data set (list of records) in the standard Microsoft Query interface before moving on.
We will be using this interface quite extensively in future articles so it’s not a bad idea to get acquainted with it right now.
So, select the ‘View data or edit query in Microsoft Query’ option and click the finish button.
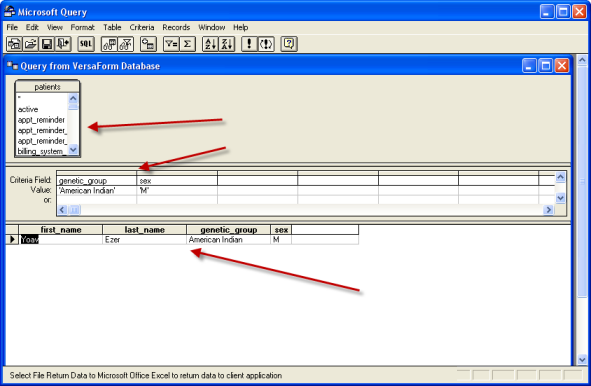
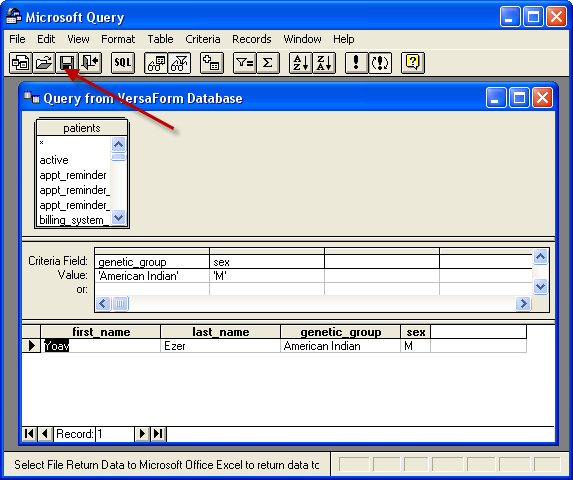
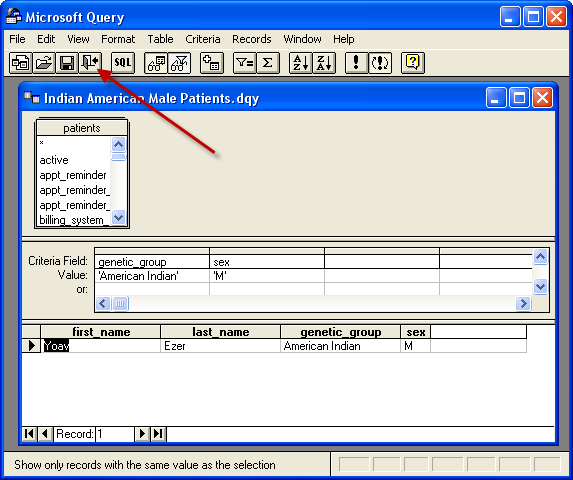
You’ll see it’s divided into 3 ‘strips’:
- The upper strip contains the list of tables used in the query. In our case, we are only using data from one table
- The middle strip shows the filtering and sorting criteria. If we defined filters or sorting order in the wizard, it will show here
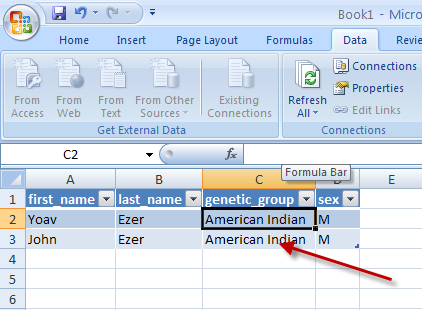
- The lower strip shows the list of records that are returned from the query. This allows you to see if your query returns the desired output, and change it if you are not getting the list of records you wanted

Summary
Microsoft Query is a very powerful tool that allows you to get any data and any possible aggregation of data from your SQL Server database.
In this article we’ve covered how to set it up as a data source to Excel and how to connect it to your SQL Server database. We also used Microsoft query to create a simple query.
In the following article in the SQL article series we will see how to combine data from different database tables and how to aggregate information on the query level using “sum”, “count”, etc, giving you unprecedented analytical power in Excel.
P.S.
Don’t forget to check out our PDF to Excel Converter. It can save you a lot of precious time you now spend on retyping PDF data.