
When people find out I work for PDF2XL they often send me questions about Microsoft Excel. I don’t mind, in fact it is one of the main ways I discover features and tricks that I might not have considered before. Here is a cool Excel tip I discovered exactly this way…
Recently my friend Tom called and asked …
“My colleagues at work don’t understand that some cells should NOT be edited. Is there an easy way to protect a cell to stop people from over writing it?”
I am sure this is a common complaint, and the less technically savvy your colleagues or assistants are, the more likely they can damage your precious data.
Luckily Microsoft included Cell Protection in their spreadsheet product for this very purpose!
Cell protection is a powerful tool for when you create spreadsheets as templates for others. It can save them breaking the spreadsheet by preventing them from overwriting existing formulas, and it can save you a lot of effort trying to fix the transcription errors anyone might introduce while inputting.
How to Confine Input to One Area
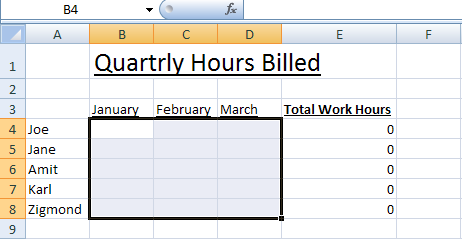
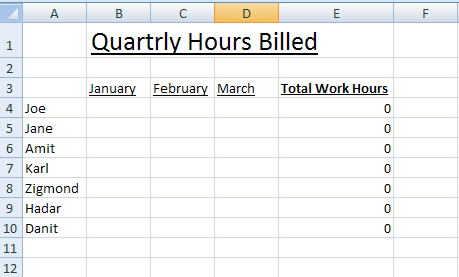
To confine data entry only to certain area, you need to first select the area you want to allow data entry in:
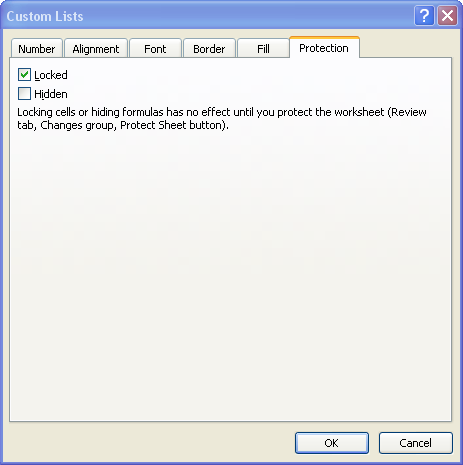
In the ‘format cells’ dialog select the ‘Protection’ tab.
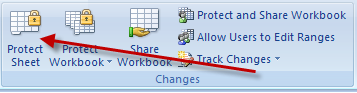
Now to lock the sheet, select the Review Ribbon and press the ‘Protect Sheet’ option.
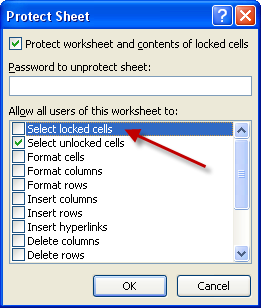
I think it is a good idea to disable selection of locked cells since it keeps confusion to a minimum. Simply remove the check-mark from the ‘Select locked cells’ option then click ‘OK’.
Password Protecting Worksheets and Cells
Wait, there’s more! You can go even further with Excel data collection and create a situation where each user can only update his/her area of the worksheet.
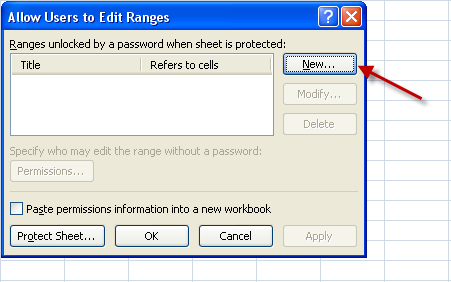
To do this you start with the same workbook.

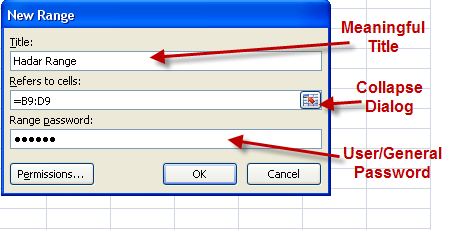
Next define the range in the ‘refers to cells’ field. You can press the ‘collapse dialog’ button and mark the range selection on the sheet itself.
Finally give a password to the range. Make it a specific password for each of your users. You’ll be sending this password along with the sheet to your user.
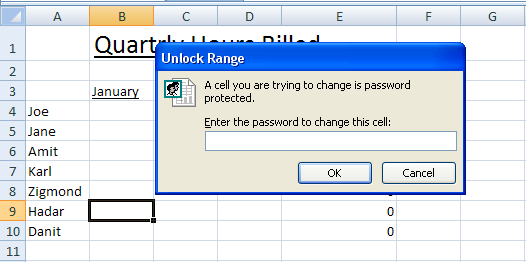
When you share the file, don’t forget to let each user have their range password, otherwise they will get stuck at this message:
Advanced Excel User Permissions Control
If you and your coworkers all work within the same windows domain, you can make the update process even smoother.
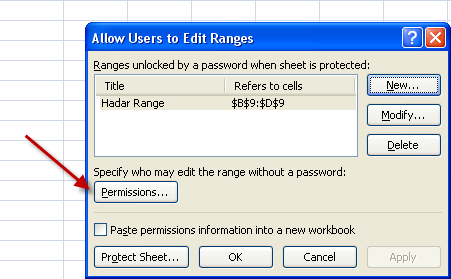
In the range definition process, after you’ve defined the range, you can grant permissions to specific users to edit the range without entering a password.
To do this, once the range is defined, click the ‘Permissions…’ button:
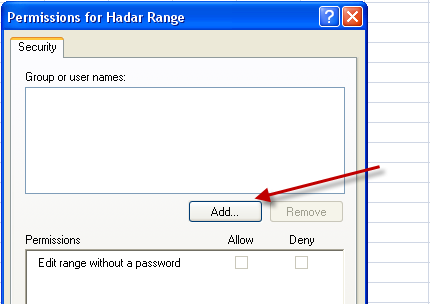
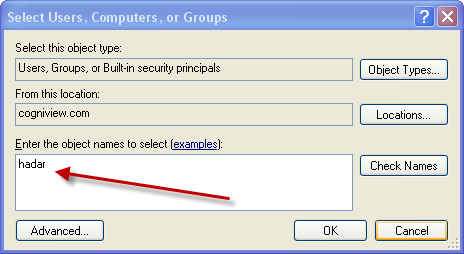
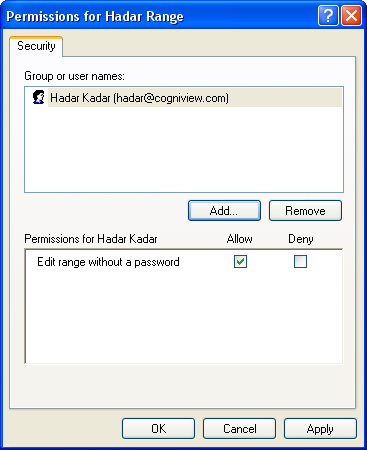

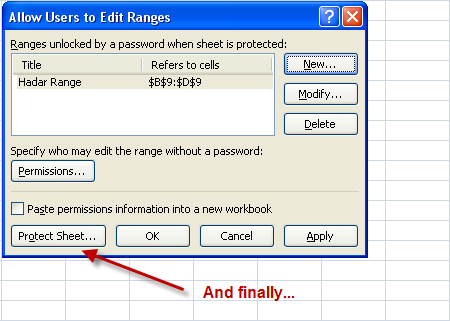
Repeat this process for every user range and you’re done.
At this point you can put this file on a shared network folder and let all the users know that it is there. With this solution, you won’t need to give them passwords as they will be automatically able to access their own assigned range while the rest of the document will be blocked for updates.
P.S.
If you’d like to get an immediate boost in productivity try our PDF to Excel Converter. It’ll free up most of the time you spend on re-keying PDF data.