
At some point in your business you are going to grow out of your spreadsheets and need to start playing with some database data. Many people who are comfortable with Microsoft Excel get scared when considering making the leap to databases because it seems so ‘techie’.
Fact is, for most tasks the gap between understanding spreadsheets and using a database is not so great, and people who have a good handle on Excel are more than capable of working with data from SQL-Server.
Harnessing these two technologies together can be very useful, so it is something well worth at least looking at. This is a first article in a series of articles that shows how Excel users can make good use of the power of SQL-Server.
Step 1: Getting ready
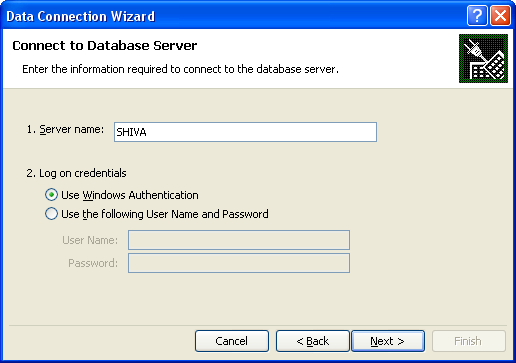
Before attempting to import data you need to contact your DBA/System administrator and find out the following:
- The name of the Database Server (The machine that runs the database software)
- The name of the database your data is stored in
- Whether your windows credentials are enough to access that server or a username/password for your database
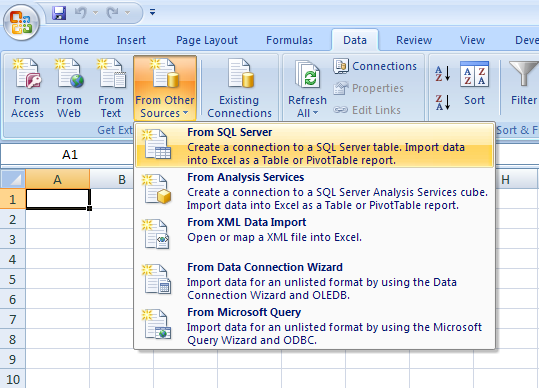
Step 2: Connecting to the database
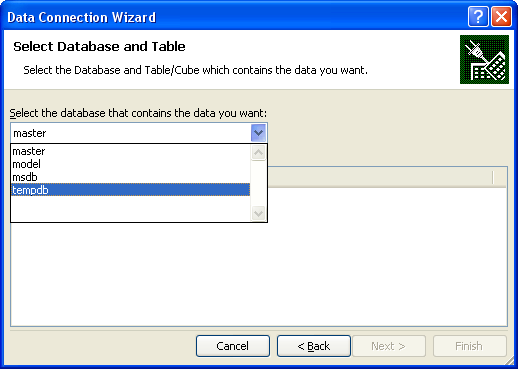
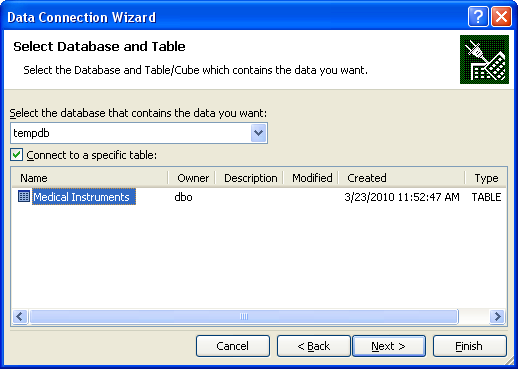
There are cases where you will not know which table contains the information you need. In this case, if you are not sure how to navigate the database, you should again ask your DBA.
If you don’t have a database administrator, browse the table names and try to figure out which one contains the data. Once you’ve narrowed the list to a few tables, create a connection to each of the tables and checkout for yourself if it contains the data you need.
In a future article we will discuss what to do when you need to use data that is spread across several tables.
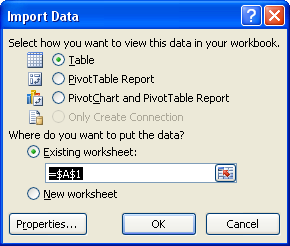
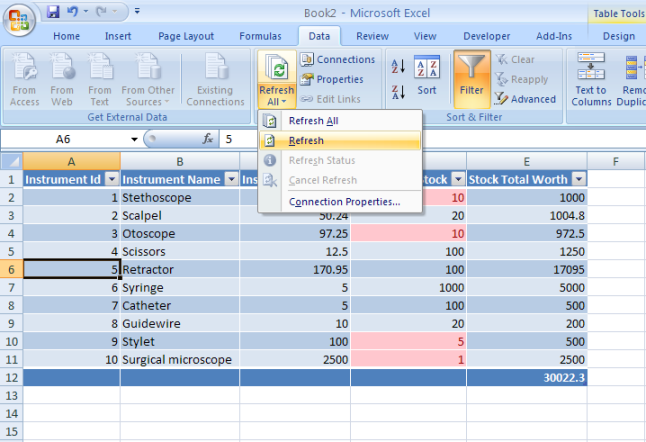
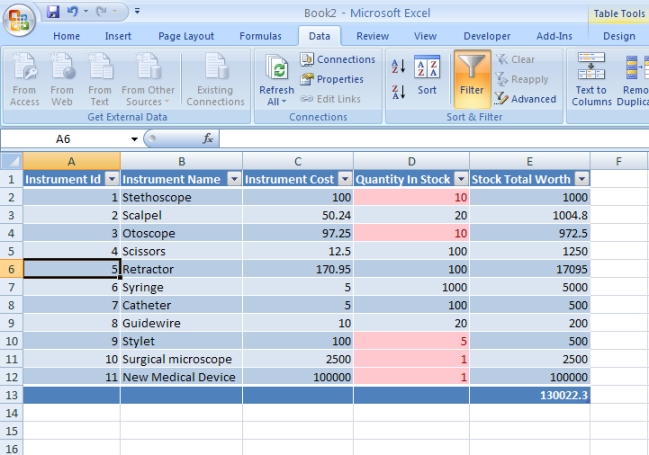
At this point we have told Excel where to find the data, now we need to use the information we supplied to create a Data Connection File. This is a file that you can use again and again in different spreadsheets and projects. This is so you don’t have to go through the process of reconnecting to this source of information again. Again, we’ll expand on this topic in another article.

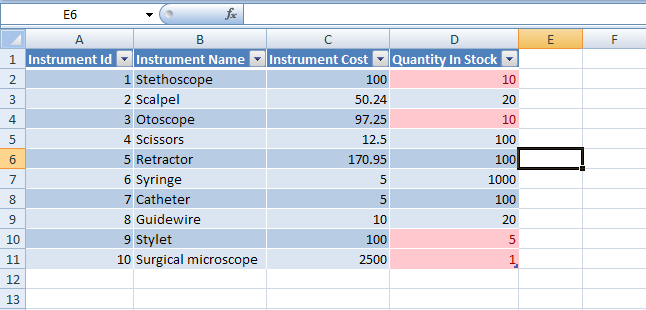
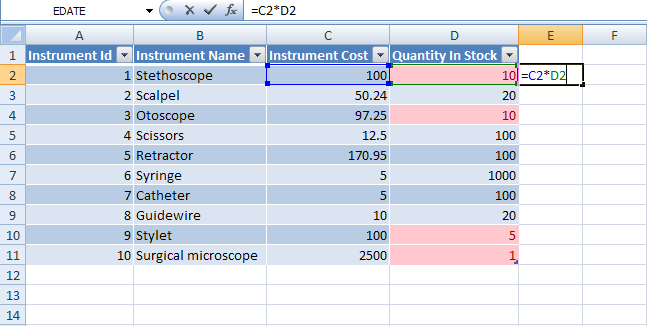
Step 3: Use the data
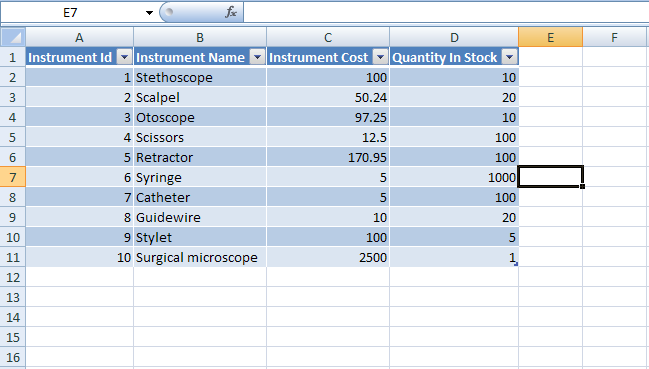
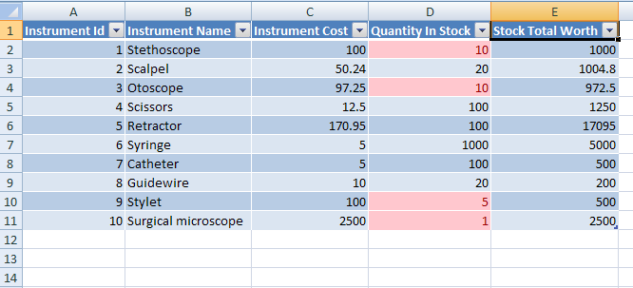
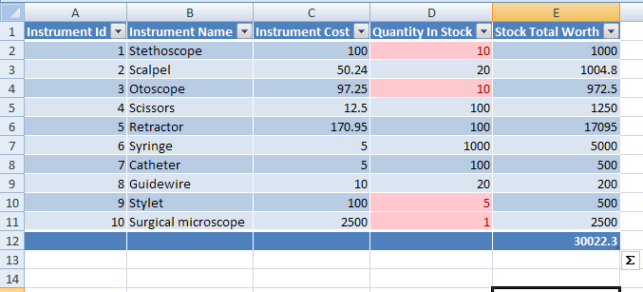
A common use of data imported this way is to use Excel for creating prettier presentation formatting, like creating charts and graphs, or as shown here, using conditional formatting to highlight the items that have low stock levels.
In this article we have only just touched on the power of using Microsoft Excel combined with a database, but I am sure you can easily see how much potential there is, especially in an environment where you collect a lot of fast-changing data stored in complex databases.
P.S.
And, as usual, don’t forget to check out our PDF to Excel Converter. It can help you free up a lot of time. Time you can use to get a lot more done at work or … to do something nice for yourself. Go walk in the park, watch a movie, talk to a friend – you deserve that.